Connect ZapInventory with Stripe
In our earlier post, we had explained the process of creating an invoice through ZapInventory. Adding a payment gateway to the invoice facilitates quicker payments. Here, the magic of Stripe Connect comes to work. Stripe Connect is a multiple currency payment platform that facilitates the vendor-client payment cycle.
Benefits of Stripe Connect:
- It integrates quickly with ZapInventory with pre-configured components to launch payment option, thus initiating quicker sign-up of the client with the platform.
- The Stripe Connect comes with Application Programming Interface (API) which lets the ZapInventory user customize onboarding with the timing for the client payments, a system for complex payments with incorporated financial reporting feature allowing the ZapInventory
- user to control their experience from the start to the end.
- Stripe Connect also has standardized functionality that involves local subsidiaries and banking relationships of more than 25 countries making it easier for the user to pay or receive payment.
- It helps you to expand your business beyond international borders without the hassle of routing payments, onboarding and verification of the client credentials, compliance issues, platform management, and support thereby enabling the user to focus more on the growth of their business rather than the technical areas.
- It tracks payments automatically, batch earnings to payouts, transferring payments according to the local timezone of the other countries.
- The additional features include Account Debits, one-to-many payments, scheduling payments and immediate payouts including removing the errors and the need for reconciliation.
- Onboarding verification also includes Know Your Customer(KYC), money transfer restriction and notifies the user if there is any need of extra information from the client.
- It also notifies when there is any upcoming payment due to the vendors.
- The Stripe Connect dashboard gives all-around information of the user financial transactions.
So, link Stripe Connect to your ZapInventory account in a few easy steps:
Step 1:
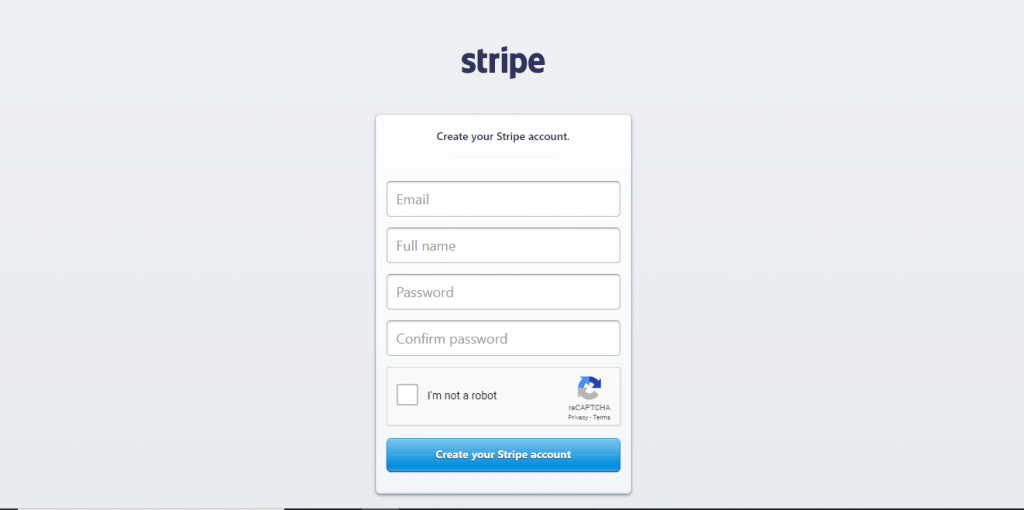
Sign up for the Stripe Connect account using this link. Enter the details of the email, name, and password to get the account registered.
Step 2:
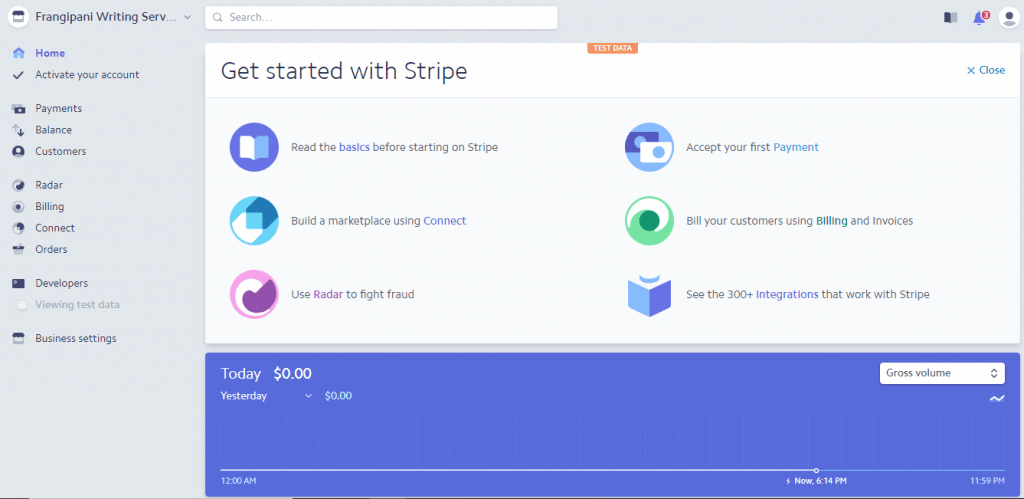
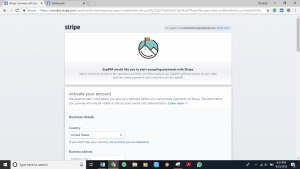
Once the account is created, there will be a screen showing the dashboard of the account.
Stripe Connect will send an email regarding the confirmation of your account, this confirmation is important for the business to receive funds.
Then the user must complete their account application to start using Stripe Connect or has the option to set it up later.
Step 3:
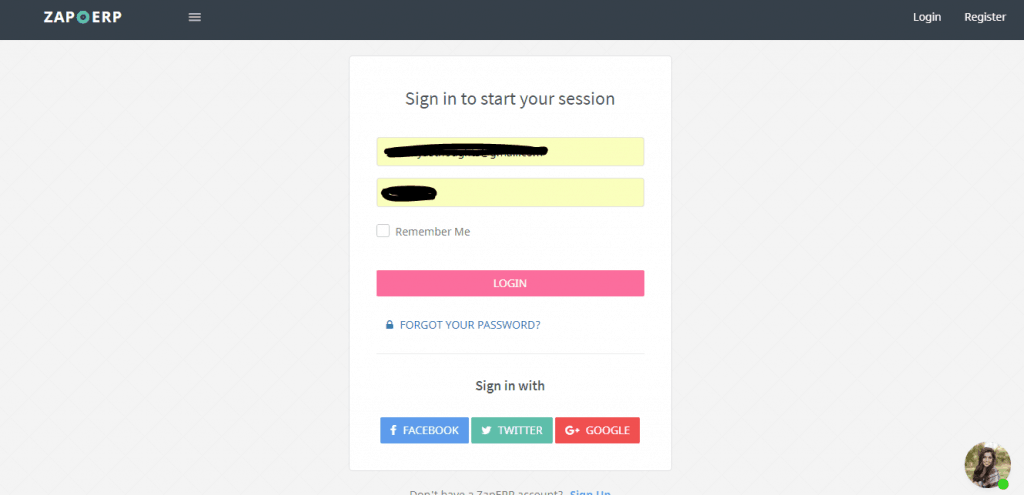
Log in to your existing ZapInventory account.
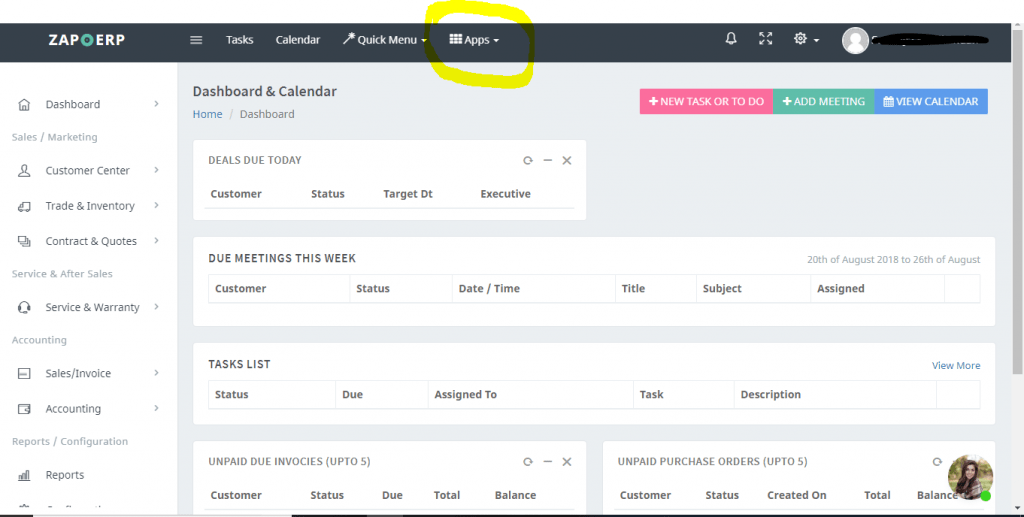
Your dashboard will be displayed.
Select the Apps option which will display a drop-down menu
Select Payment gateways to link your Stripe account. A page will pop up with payment gateway options including Stripe. Choose Stripe and click on the save option to make Stripe your preferred payment gateway and thus connect your stripe account .
The next screen will ask for access to the Stripe account. As soon as the user grants access to ZapInventory, they can start accepting payments from their clients.
Stripe Connect with ZapInventory enables you to create professional invoices with hassle free payment gateway that accepts currencies from more than 25 countries.
Link Stripe Connect to ZapInventory today and start focusing on your business expansion.


 Start using ZapInventory today
